Windows 8 is already RTMed and the general availability is in October 26th and it has been already released for MSDN and Technet users. If you want to try out Windows 8 when it releases, you have two options first one is to upgrade your existing Windows XP, Vista or Windows 7 installation to Windows 8 (you need to check what all features are available in upgrade) and the second option to to dual boot with an existing Windows installation. Both have its own advantages and disadvantages and it depends on your choice.
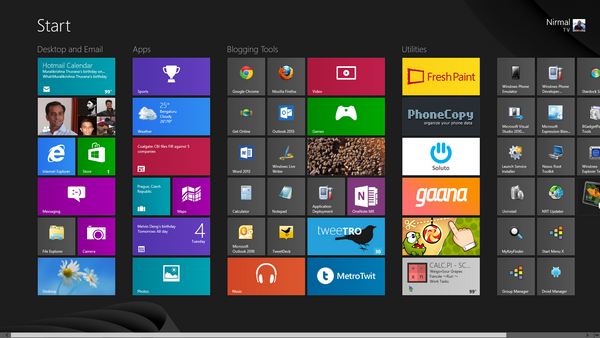
If you are upgrading to Windows 8, you can follow our guide- How to Upgrade Windows XP, Vista and Windows 7 to Windows 8
If you are planning to dual boot, we will cover in detail on how to dual boot Windows 8 with previous versions of Windows.
How to Dual Boot Windows 8 with Windows XP, Vista or Windows 7:
Step 1: Backup and Creating Partitions
The first and important step in this process is to take a backup of all your important files. Although your files will not be affected, its always good to have a backup. Once you have taken a backup, you need to create a new partition for Windows 8. Assuming that you are using Windows 7 or Windows XP, you can check out our guide on how to create a new partition.
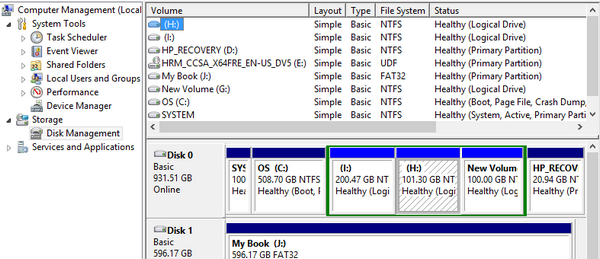
You can also use third party tools like EASEUS or partition manager to create a new partition. You can also create a partition from the boot menu, but we recommend it to create using the default Windows interface (Control Panel-> Administrative Tools-> Computer Management and then select Disk Management).
Once you have created a new partition, you are now ready to install Windows 8.
Step 2: Installing Windows 8:
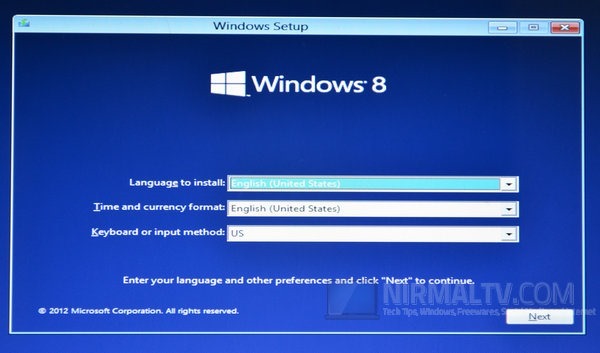
For this step, you will need to have the Windows 8 ISO. You can either boot the ISO using a DVD or create a bootable USB drive. Now insert the DVD or USB drive and restart your PC. While booting, in the prompt you will see “Press any key to boot from DVD” and then press any key. This will start the set up process. Select the keyboard and language and press next.
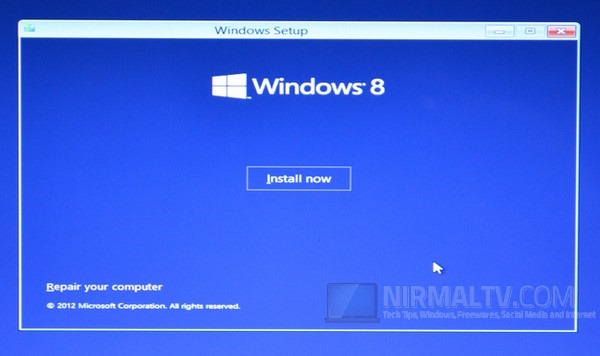
Click on the Install now button.
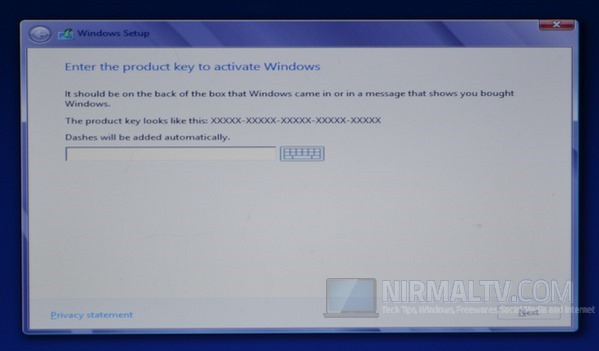
In the next step, you will need to enter the product key. The set up will validate the key and only if it is genuine, you will be allowed to proceed to next step.
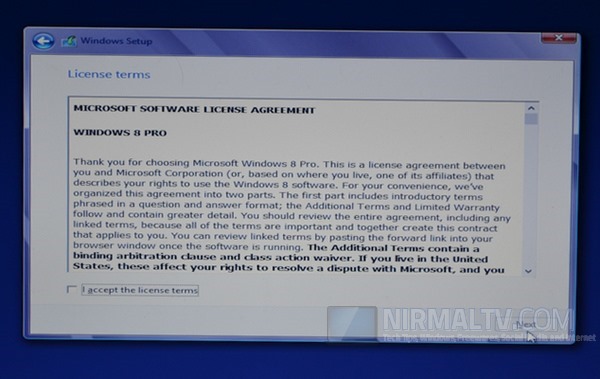
Accept the License terms and click next.
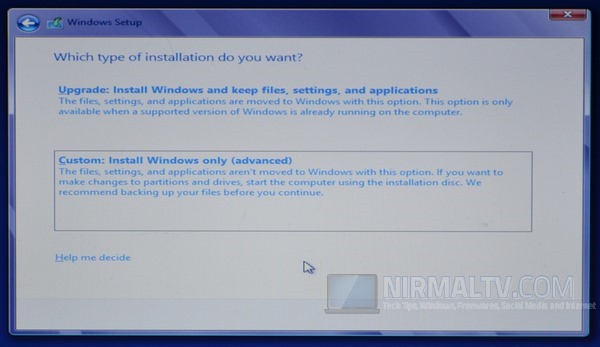
The set up will now ask if you want to upgrade or custom install. Since we are doing a dual boot here, select the second option –Custom Install.
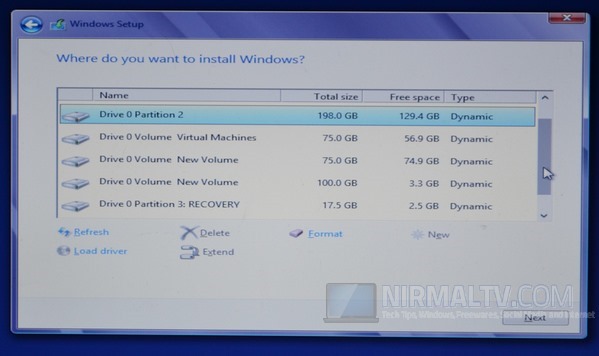
In the next step, you will need to select the partition we created in the step 1. Please make sure you select the correct partition as the installer will delete all the files in the selected partition.
Click next and rest of the process will just need to follow the on screen instructions. You can check this article to see the rest of the tasks. After the installation, you will see the new boot screen where you can select Windows 8 or the previous version which you were using.
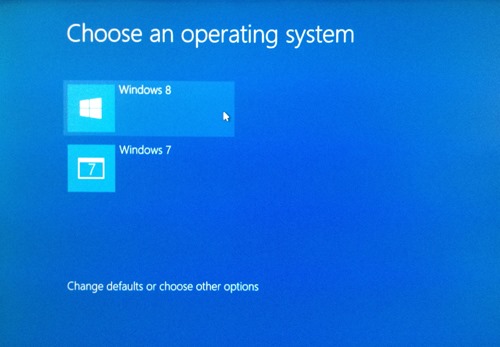
You can change the default boot drive using the option below the boot menu.
Please note that in case you are installing both version of Windows from start, then make sure you install Windows 8 at the last.


I always removed System Reserved memory and also 100Mb useless partition ..
I wasnt able to get the boot menu option between 7 & 8. It always boots in to windows 8.