Windows 8, the latest OS from Microsoft was made available to Technet and MSDN subscribers and will be available for general public in October. If you have already got a Windows 8 license, you might be planning to install it. There are two options available, you can either clean install it or upgrade from Windows 7, Vista or XP. A Windows 8 clean install simply means an installation of Windows 7 on an unused partition on your hard drive. In most cases, though, a clean install of Windows 8 means to remove an existing OS and to replace it with a fresh installation of Windows 8.
In this article, we will cover how to do a clean install of Windows 8. For this installation, you will need a a bootable DVD or a bootable USB pen drive. You can also start the set up from your existing Windows installation.
Run the setup file or boot from the DVD or bootable USB. Select the language and keyboard and click next.

Enter the 20 digit product key for Windows 8 and click next. The set up will check the key for validity.

Now accept the license terms and click next.

You have the option to download the latest updates or skip it for the time being.

In the next step specify if you want to upgrade an existing Windows or do a custom install. Since we are doing a clean install, select the second option of Custom install.

In the next step, select the drive where you want to install Windows (assuming you already have multiple hard drives configured) or install on the default drive.

Click next and Windows will start the installation. First it copies all the files required, then it installs all the features.

As mentioned below, your PC might restart several time during the installation, but you do not have to do anything unless it finishes.

Now it installs the devices and drivers.


Once ready, it will reboot and you can select the OS from boot menu, select Windows 8.

The next step is personalization of your Windows, you can select the background color and the PC name.

Next step, you can sign in with your Microsoft account (Hotmail or Outlook.com account).

The installer will check for the account and in the next step, you need to enter the password for your account.

Enter the personal details like phone number and alternate email (these are populated by default if these info is saved in your account)


In the final step, installer will install the apps (the default apps like email, weather, news etc) and once complete you will be taken directly to the desktop.

Now you can see the start screen with all the apps installed. Once the installation is over, please make sure you activate the copy of Windows 8.

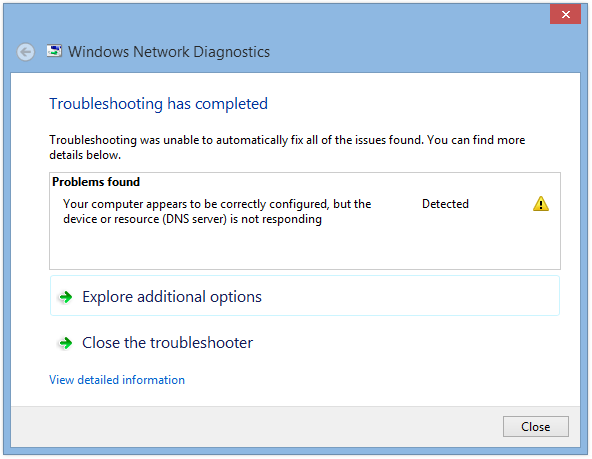
If you have doubts with any of the steps mentioned above, drop your questions in the comments. Please note that the entire installation process might take around 30-45 minutes based on your PC configuration. Please note, not all screenshots above will be available when you upgrade, it might change based on the version you are installing.
When Personalizing, How to skip the sign in to your pc and next two steps?
I think there is no option to create a local account, but once you sign in you can convert it into local account.
is this Install on normal Pentium 4 system..
2.8GHZ
3GM RAM
256MB display Adaptor.
plz answer?????
is this Install on normal Pentium 4 system..
2.8GHZ
3GB RAM
256MB display Adaptor.
plz answer.