Techniqued- Technoloy, Review and Tutorials
  • Android
  • Freewares
  • Tutorial
  • Windows 11
  • macOS
No Result
View All Result
Techniqued- Technoloy, Review and Tutorials
  • Android
  • Freewares
  • Tutorial
  • Windows 11
  • macOS
No Result
View All Result
Techniqued- Technoloy, Review and Tutorials
No Result
View All Result

How to Enable Firewall on macOS Ventura

Nirmal by Nirmal
March 12, 2023
in macOS, Tutorial
0
Share on FacebookShare on Twitter

A firewall is a barrier between your macOS and malicious software on the web. There are many threats online which could be a problem for your macOS. It protects your computer by blocking access to your computer and it allows only those apps and services which are trusted and allowed by you. It is important that we configure the firewall on your macOS so that you are protected. macOS Ventura has a built-in firewall which you can enable from the settings. In this article, we will see how to enable the firewall on macOS.

Related Reading: How to Disable iMessage Notifications in macOS

Enable Firewall on macOS Ventura

How to Enable Firewall on macOS Ventura:

The in-built firewall on macOS Ventura is free to use and it just takes a few seconds to configure and use. It blocks all the threats on your macOS and prevents attacks by malware and spyware. Here is how to enable it.

Step 1: Open the Settings on your macOS.

Step 2: In the settings, select the Network option on the left panel in the app.

Enable Firewall on macOS Ventura

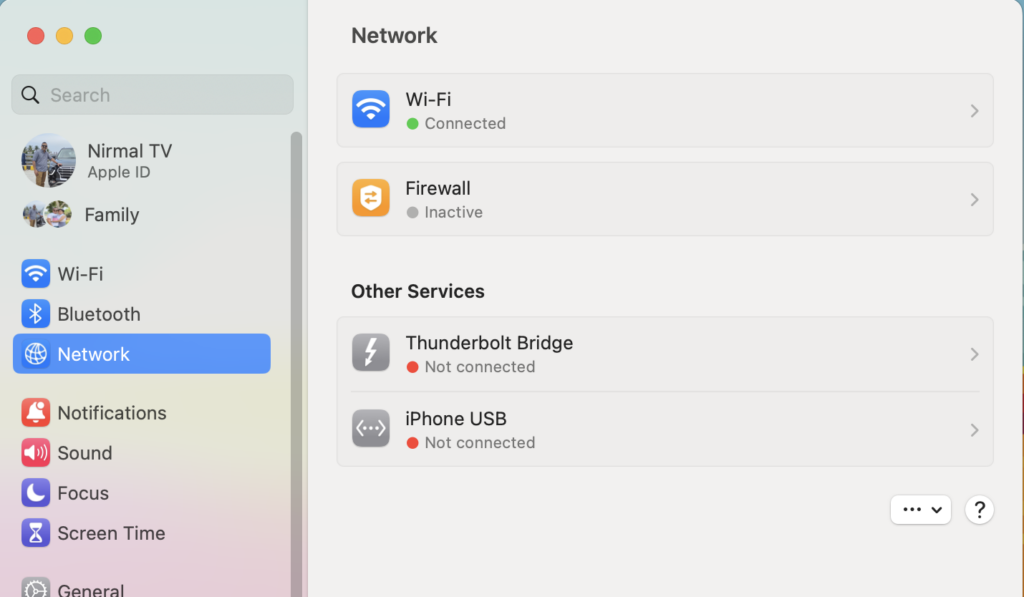
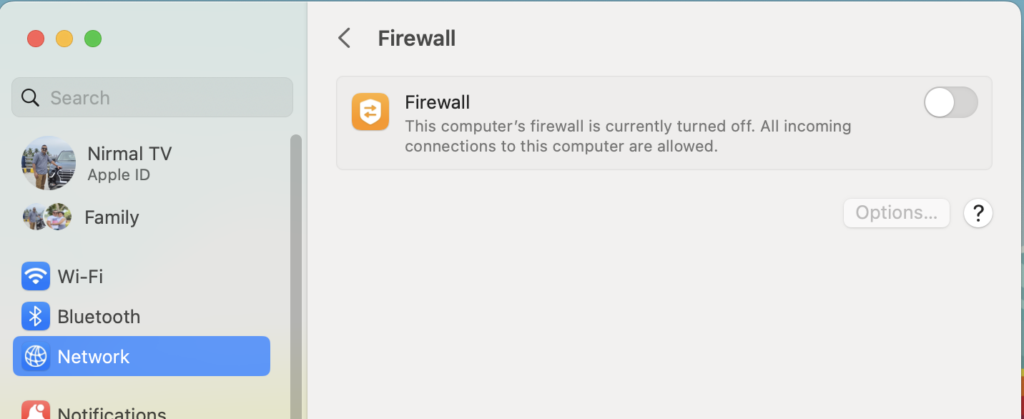
Step 3: On the right panel you will see the Firewall option mentioned, select this option to enable it. You will now see a button to enable it.

Enable Firewall on macOS Ventura

Step 4: Your macOS will now ask you to provide either a Touch ID or enter the password to unlock this network setting.

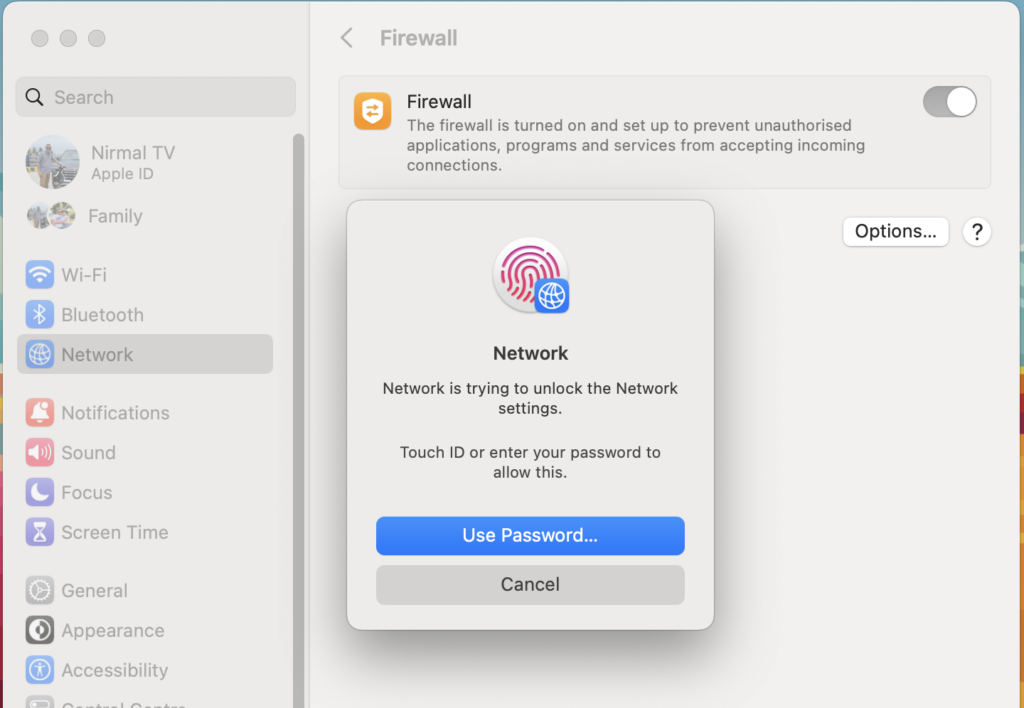
Step 4: Once you have authenticated, you will now see that the firewall will be enabled on your macOS Ventura.

Step 5: macOS also provides you to configure the firewall options. Click on the options button and you will see additional options to configure your Firewall.

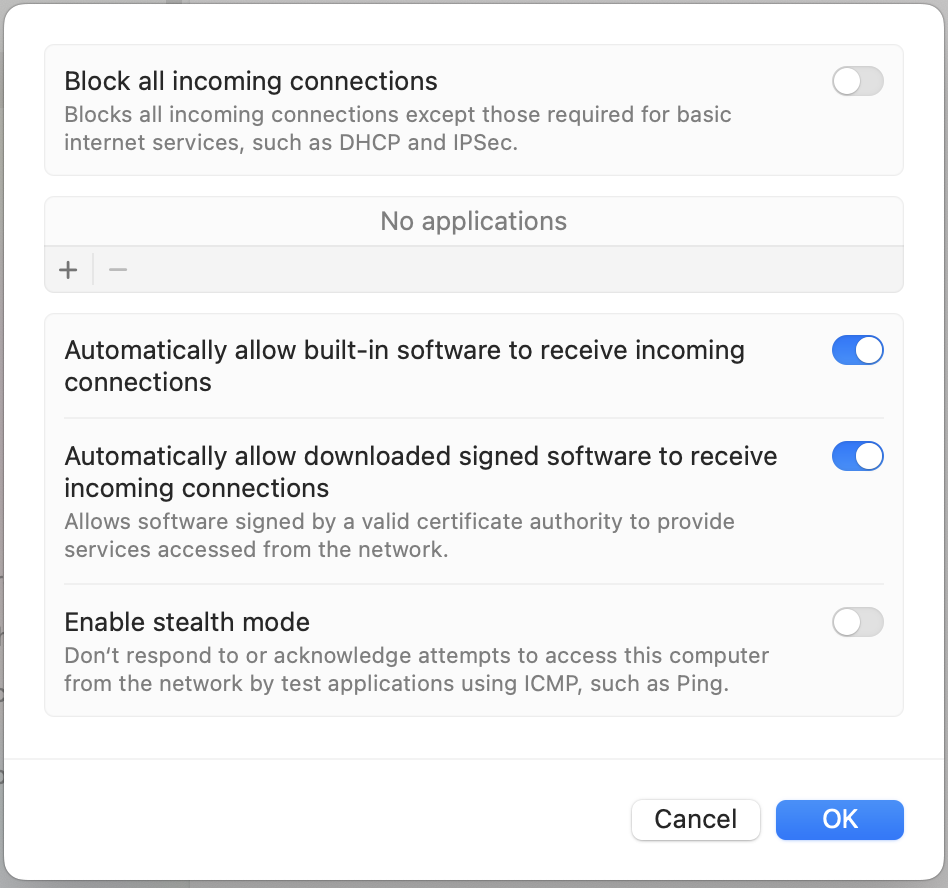
Step 6: You can add any particular app to which you would like to give special permissions using the + icon. You can also block all connections and give access to only selected apps.

Enabling stealth mode tells your macOS to ignore all incoming attempts to access your PC from the network by test applications asking for the information without authorization.

Tags: FirewallHow tomacOS
ShareTweetSendSend
Previous Post

How to Reset Graphics Driver on Windows 11

Next Post

How to Enable Reading Mode on Android

Related Posts

Tutorial

How to Use Snapchat on PC

May 21, 2024
iOS

How to Delete YouTube Search and Watch History on iPhone

May 18, 2024
Social Networks

How to Change your Name on Facebook [2024]

May 12, 2024
Social Networks

How to Hide likes on Facebook [Tutorial]

May 10, 2024
Tutorial

How to Download All Photos from Google Photos

December 21, 2023
macOS

How to Reset Network Settings on macOS

November 25, 2023

Leave a Reply Cancel reply

Your email address will not be published. Required fields are marked *

This site uses Akismet to reduce spam. Learn how your comment data is processed.


Latest Articles

How to Fix “Installation can’t continue” when trying to Update Nvidia Graphics Drivers

Download Windows 11 24H2 ISO (Offline Installer)

Can I Run Windows 11 without Activating

How to Use Snapchat on PC

How to Delete YouTube Search and Watch History on iPhone

How to Use Energy Saver on Windows 11

Techniqued- Technoloy, Review and Tutorials

© 2021 Techniqued - Technology, Tips, Tricks and Reviews

Navigate Site

  • About Us
  • Advertise with us
  • Contact Us
  • Copyright Policy
  • Disclaimer

Follow Us

No Result
View All Result
  • Android
  • Freewares
  • Tutorial
  • Windows 11
  • macOS

© 2021 Techniqued - Technology, Tips, Tricks and Reviews

This website uses cookies. By continuing to use this website you are giving consent to cookies being used. Visit our Privacy and Cookie Policy.