Techniqued- Technoloy, Review and Tutorials
  • Android
  • Freewares
  • Tutorial
  • Windows 11
  • macOS
No Result
View All Result
Techniqued- Technoloy, Review and Tutorials
  • Android
  • Freewares
  • Tutorial
  • Windows 11
  • macOS
No Result
View All Result
Techniqued- Technoloy, Review and Tutorials
No Result
View All Result

How to Back up iPhone on Windows PC

Nirmal by Nirmal
October 28, 2022
in Tutorial
0
Share on FacebookShare on Twitter

Taking a backup of any digital device is an important thing to do since you might not know when a device can fail and you will end up losing all your personal data. So it is recommended to take a backup of your phones and laptops once in a while. If you are using an iPhone, you might know that there is an option to back up data to iCloud. Further, if you are a macOS user, then it will be easier for you to back up data. But what if you are an iPhone user with Windows 11 PC? So how do you back up iPhone on Windows PC? Let’s find out.

Related Reading:

Back up iPhone on Windows PC

How to Backup iPhone on Windows PC:

In this guide, we will show you how to back up an iPhone on Windows PC.

Pre-requisites:

1. iTunes (Download)

2. Lightning cable

3. Windows PC

Step 1: First you need to download and install iTunes on your Windows PC.

Step 2: In the next step, you need to sign in with your Apple ID and password by going to “Account -> Sign In.”

Step 3: Now connect the iPhone to the PC using the type C cable.

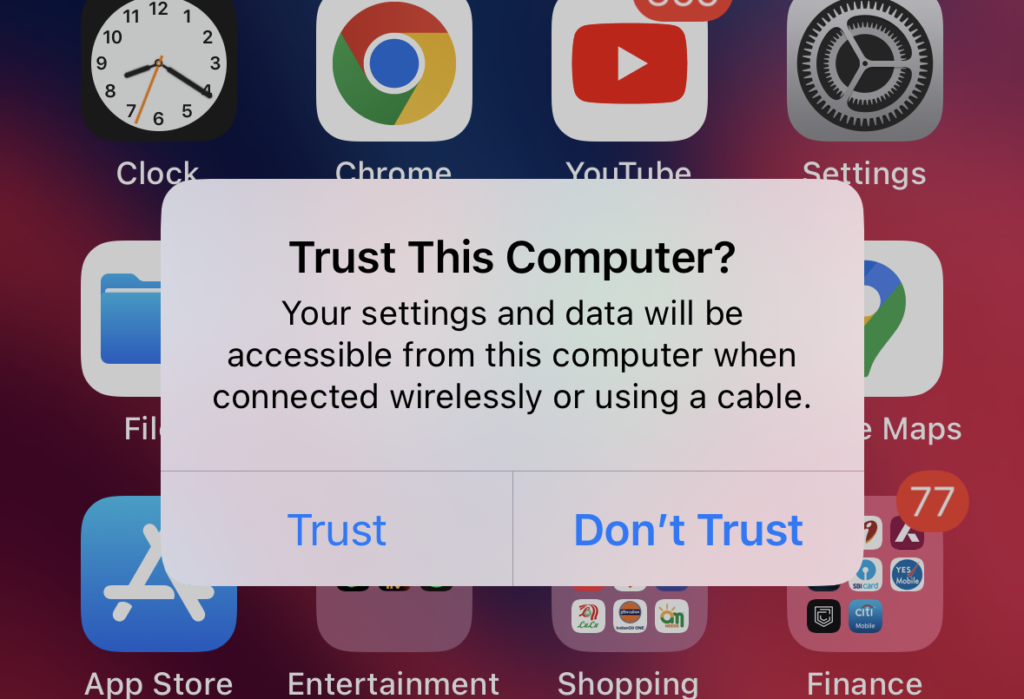
Step 4: When you connect the phone to the PC, your phone will pop up a notification asking if you trust this PC, click on the Trust button.

Back up iPhone on Windows PC

Step 5: Now on your PC, iTunes will also show a notification asking if you want to allow the computer to access the phone, click continue.

Back up iPhone on Windows PC

Step 6: Once you are connected, you will see a small smartphone icon below the account menu.

phoone connected

Step 7: Now you need to click on this icon to take you to the iPhone settings. Here you need to select the Summary tab on the left side.

Backup iPhone

Step 8: Under the summary tab, you will see the backups option. Here you have two options for automatic backup. One of them is to backup to iCloud and the second option would be to backup to this computer.

Step 9: Click on the second option “This computer” and click on the Backup now button next to it.

Step 10: Alternatively, you can also encrypt the backup with a password, you can see the option to enable it.

Step 11: Once the backup process is started make sure your phone is always connected to the PC or else it will stop the backup process.

This is how you can back up your iPhone to Windows PC.

Tags: Apple iPhoneTutorialsWindows
ShareTweetSendSend
Previous Post

8 Best Free Photo Editors for Windows 11

Next Post

7 Best Video Editors for macOS [2023]

Related Posts

Tutorial

How to Use Snapchat on PC

May 21, 2024
iOS

How to Delete YouTube Search and Watch History on iPhone

May 18, 2024
Social Networks

How to Change your Name on Facebook [2024]

May 12, 2024
Social Networks

How to Hide likes on Facebook [Tutorial]

May 10, 2024
Tutorial

How to Download All Photos from Google Photos

December 21, 2023
Tutorial

How to Open a .SWF File with SWF Player

November 23, 2023

Leave a Reply Cancel reply

Your email address will not be published. Required fields are marked *

This site uses Akismet to reduce spam. Learn how your comment data is processed.


Latest Articles

How to Fix “Installation can’t continue” when trying to Update Nvidia Graphics Drivers

Download Windows 11 24H2 ISO (Offline Installer)

Can I Run Windows 11 without Activating

How to Use Snapchat on PC

How to Delete YouTube Search and Watch History on iPhone

How to Use Energy Saver on Windows 11

Techniqued- Technoloy, Review and Tutorials

© 2021 Techniqued - Technology, Tips, Tricks and Reviews

Navigate Site

  • About Us
  • Advertise with us
  • Contact Us
  • Copyright Policy
  • Disclaimer

Follow Us

No Result
View All Result
  • Android
  • Freewares
  • Tutorial
  • Windows 11
  • macOS

© 2021 Techniqued - Technology, Tips, Tricks and Reviews

This website uses cookies. By continuing to use this website you are giving consent to cookies being used. Visit our Privacy and Cookie Policy.