Windows 8 was released by Microsoft back in October with many new features and new UI. Windows 8 comes with new start screen, Windows Explorer, new task manager and also the Windows Store. But if you are a power user, you might have probably noticed that there is no option to create a ad-hoc connection in Windows 8. Windows 7 did have an option to set up Wireless ad-hoc connections which is missing in Windows 8. Although there is no direct option in network settings, you can still enable and use ad-hoc connection on Windows 8, below are the steps to enable it.
There are many third party tools like Connectify to create the ad-hoc connection, but if you want this to be done natively, first open the command prompt in administrator mode. Type CMD on the start screen and right click the result and select Run as Administrator from the bottom menu.
Now type the following command;
netsh wlan set hostednetwork mode=allow ssid=AdHoc key=passwordIn the above command, you can add your own value for SSID and enter your key. Now press enter.

Now to start the network, type the below command;
netsh wlan start hostednetworkNow that ad-hoc connection is created with passkey, you need to share the existing connection.

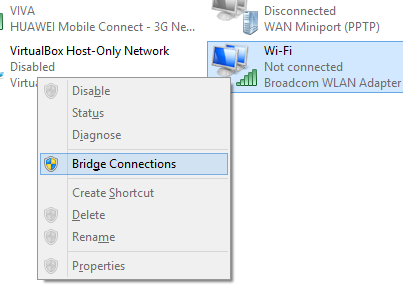
Once the hosted network is enabled, you can see Adhoc connection listed in the network and sharing center. Now the adhoc network needs an internet connection and for this, you need to share the existing active Internet connection. Right click on your exisiting Wi-Fi internet connection and select properties.

Now select the Sharing tab in properties. Check the box against “Allow other network users to connect through this computer’s internet connection”. Then select the newly created adhoc connection from the drop down list. Now save the details and close the properties.

Now you can see Internet available on the new ad-hoc connection created.

In case you want to stop the hosted network, use this command;
netsh wlan stop hostednetworkIf you find this method difficult, you can probably use tools like Virtual Hotspot, Connectify or mHotspot.


Or “you can probably use” as well the most compatible – with Win 7 – third party application: “Maryfi”! It works flawless in Win 7 better than any other similar one!
Good heavens, what a horrible process to have to go through!
I wonder if this will be included with windows 8.1?
This is one of the worst processes to go through. I wish they would bring the GUI back. To read more, check out http://hostingtavern.com
thnks. cant it work without an internet connection? in windows 7 it does not need an internet connection.
I have tried connectify by using this guide: http://techzend.com/create-ad-hoc-wifi-hotspot-windows-81/, and its working fine. You can also use it and in just 1 click your ad-hoc network will be ready in win 8.1.