Techniqued- Technoloy, Review and Tutorials
  • Android
  • Freewares
  • Tutorial
  • Windows 11
  • macOS
No Result
View All Result
Techniqued- Technoloy, Review and Tutorials
  • Android
  • Freewares
  • Tutorial
  • Windows 11
  • macOS
No Result
View All Result
Techniqued- Technoloy, Review and Tutorials
No Result
View All Result

How to Resize Disk Partition in Windows 8

Nirmal by Nirmal
August 13, 2012
in Windows 8
1
Share on FacebookShare on Twitter

Generally when you buy a new desktop PC or a laptop, there might be only one drive (or maximum of two) in the hard disk. But you might want to add more drives so that you can arrange your files and folders into different categories. Similar to Windows 7, Windows 8 also has the option to resize disk partitions. These partition options allows users to resize or extend or shrink one partition to create another one. You can easily create a new partition without having to install any third party tools.

To start creating a new partition or resize an existing one, you need to open Computer management tool. You can navigate to it from Control panel or use the Run command (Win Key + R) and type compmgmt.msc and press enter.
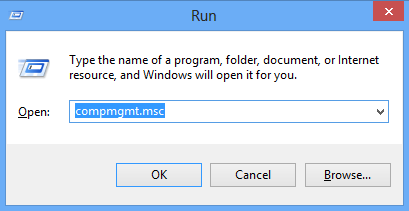
Run command

This will open the Computer management section and select the Disk Management under Storage.
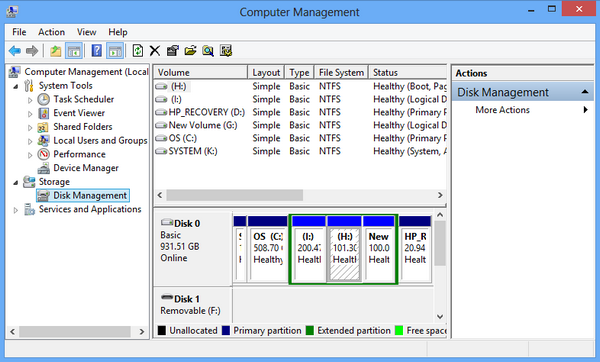
Computer management

Now you need to select an existing partition whcih you want to resize or create a new one. Right click on the partition and select Shrink Volume.
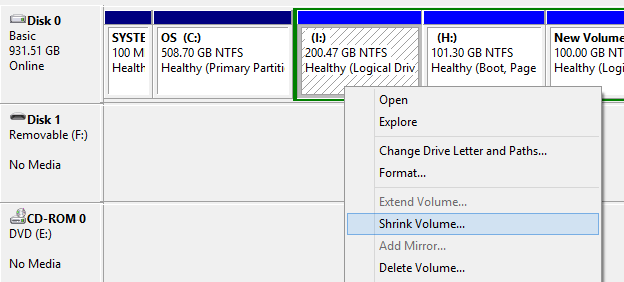
Shrink volume

Windows will check the amount of space available for Shrink and you can select from the available space.
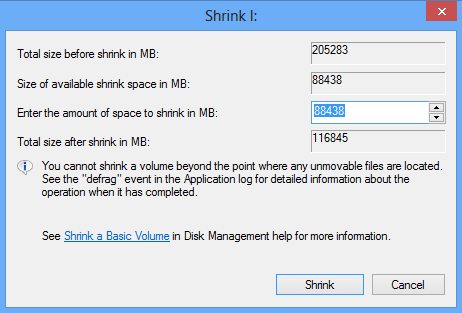
Volume to shrink

Once you shrink the volume, you can see a new “Free space” created as of now this is not a drive.
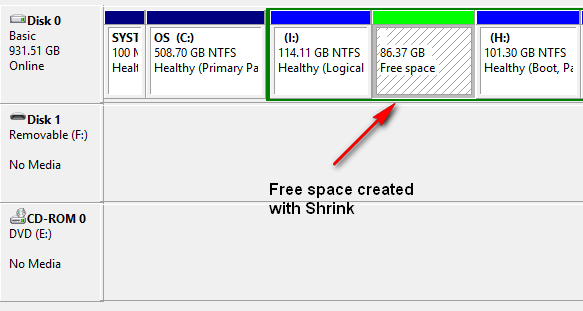
Free space

Now right click on the free space and select New simple Volume.
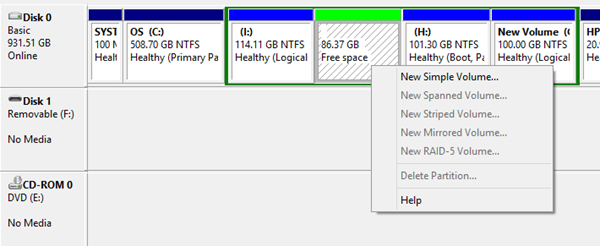
New Volume

Select the amount of space you want to use for the new drive.
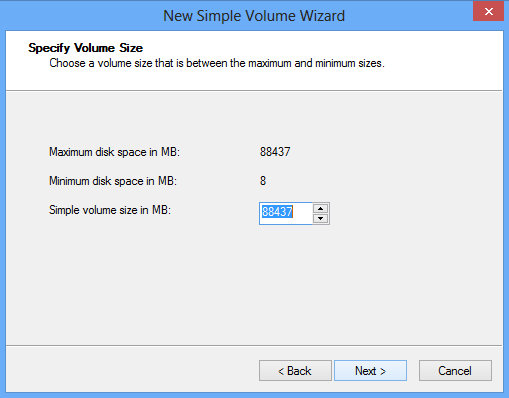
Select space

You can assign a drive letter from the list of ones available.
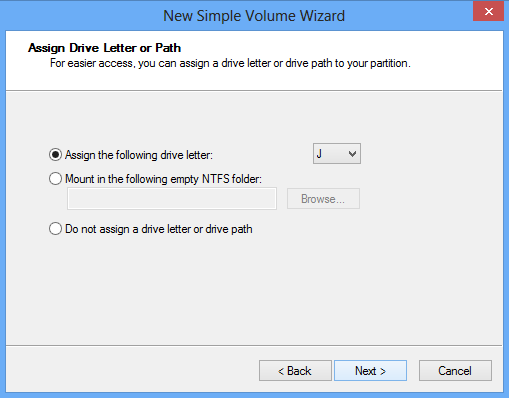
Assign letter

Now format the drive with NTFS and you can also set the volume label for the new drive.
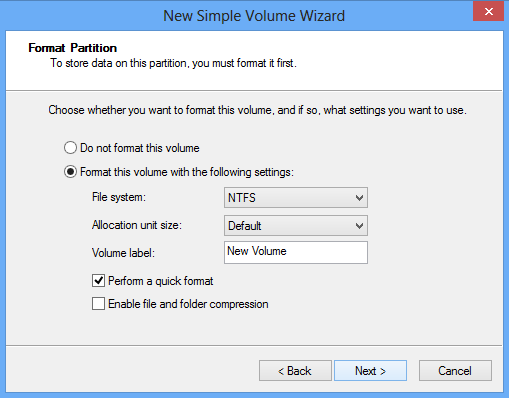
Format

Once the formatting is complete, you can see a new drive added to your Windows explorer.

Finish

This built in tool is pretty useful for creating new partitions.

Tags: Create PartitionsHard Disk PartitionPartitionsResize PartitionsTutorialsWindows 8
ShareTweetSendSend
Previous Post

List of Run Commands in Windows 8

Next Post

Enable Tabbed Interface in Windows 8 Explorer with QTTabBar

Related Posts

Tips and Tricks

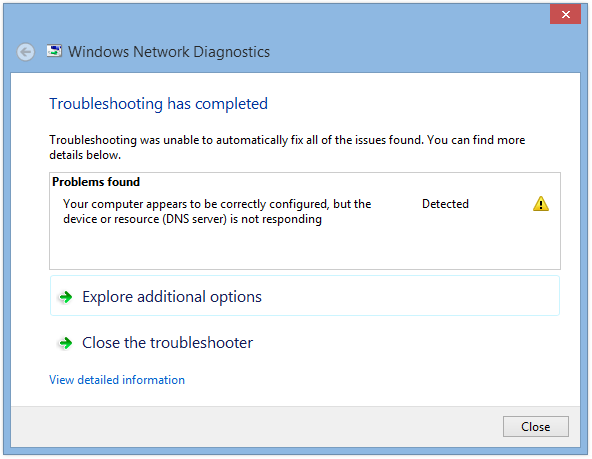
Fix DNS Server not Responding Error on Windows 10

March 5, 2021
Windows 10

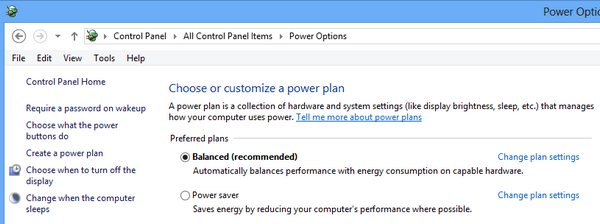
6 Simple Tips to Improve Battery on Windows 10

March 5, 2021
Windows 10

Where can I Download Windows Legally

April 15, 2020
Tips and Tricks

Fix Mouse not Detected on Windows 10

November 17, 2019
Windows 10

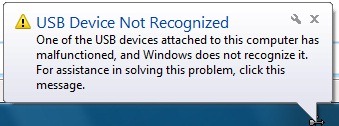
How to Fix USB Device Not Recognized on Windows 10

November 11, 2019
Tutorial

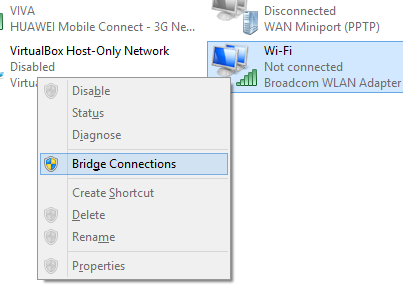
How to Create a Network Bridge in Windows 10

November 11, 2019

Comments 1

  1. Sam@Pushkar tour says:
    13 years ago

    Hi,

    Nice tutorial which help lots for them who wants to know many more feature about windows 8 in less time.

    Reply

Leave a Reply Cancel reply

Your email address will not be published. Required fields are marked *

This site uses Akismet to reduce spam. Learn how your comment data is processed.


Latest Articles

How to Fix “Installation can’t continue” when trying to Update Nvidia Graphics Drivers

Download Windows 11 24H2 ISO (Offline Installer)

Can I Run Windows 11 without Activating

How to Use Snapchat on PC

How to Delete YouTube Search and Watch History on iPhone

How to Use Energy Saver on Windows 11

Techniqued- Technoloy, Review and Tutorials

© 2021 Techniqued - Technology, Tips, Tricks and Reviews

Navigate Site

  • About Us
  • Advertise with us
  • Contact Us
  • Copyright Policy
  • Disclaimer

Follow Us

No Result
View All Result
  • Android
  • Freewares
  • Tutorial
  • Windows 11
  • macOS

© 2021 Techniqued - Technology, Tips, Tricks and Reviews

This website uses cookies. By continuing to use this website you are giving consent to cookies being used. Visit our Privacy and Cookie Policy.