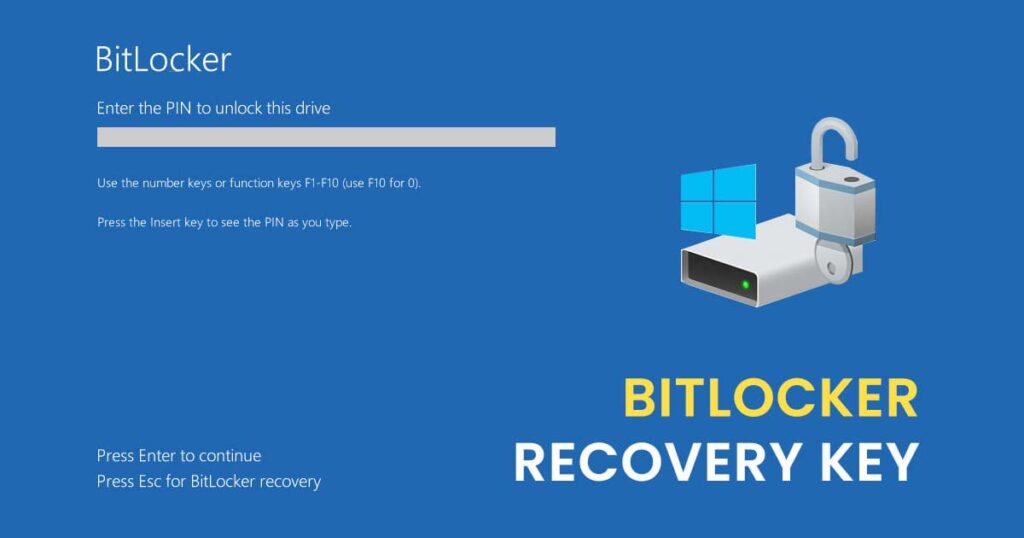
If you have used Windows 11 or even Windows 10 for a quite long time, you might have already heard about Bitlocker. BitLocker is the Windows encryption technology that protects your data from unauthorized access by encrypting your drive and requiring one or more factors of authentication before it will unlock it. In normal use BitLocker simply unlocks when you successfully sign into Windows. BitLocker will prevent any unauthorized access to your PC. At the same time, Windows 11 will require a BitLocker recovery key when it detects a possible unauthorized attempt to access the drive. This can also happen if you make changes in hardware, firmware, or software that BitLocker can’t distinguish from a possible attack. In these cases, BitLocker may require the extra security of the recovery key. This key is also required if you are going to reset Windows 11 or do a clean install of the OS. So how to back up your BitLocker Recovery Key in Windows 11?
Related Reading: How to Remove OneDrive from Windows 11
Why is it Important to Back up your BitLocker Recovery Key in Windows 11?
As we mentioned before the BitLocker recovery key is very important and in case of any issues, you can only recover or access the files using the recovery key. It’s critical that you have a backup copy of this key. If you lose the key, Microsoft support isn’t able to provide it or recreate it for you. In most situations, your key is backed up when BitLocker is first turned on, but it’s a good idea to do a backup of your own.
How to Back up your BitLocker Recovery Key in Windows 11:
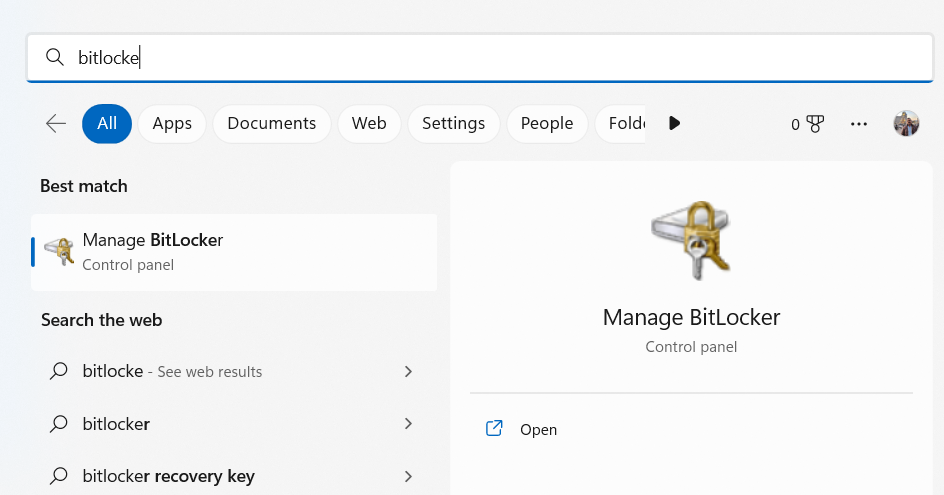
Step 1: Open the start menu and type Bitlocker and you will see the option to manage Bitlocker.
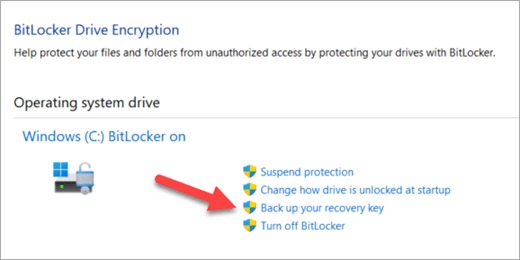
Step 2: In the Manage BitLocker option, you can see the drive where BitLocker encryption is enabled.
Step 3: In the drive options, you will see an option to back up your recovery key.
Step 4: Now you need to select where you want the key backed up
- Save to your Microsoft Account – This will save the key in the Recovery Keys library of your Microsoft Account where you can easily get to it from any computer in the future.
- Save to a USB flash drive – If you have a flash drive handy you can save the key to it. If your computer asks for the key in the future just insert that USB drive and follow the onscreen instructions. The key takes only a couple of KB of space so the drive doesn’t have to be large.
- Save to a file – You can save your recovery key as a plain text file on any device. If you need that file in the future just open it with any text editor like Notepad or Microsoft Word and you’ll be able to read the key. You won’t be able to save it to the BitLocker encrypted drive, so you may have to save it to a USB drive if you don’t have a second, unencrypted, volume on the device.
- Print the recovery key – You can simply print the recovery key if you prefer.
These are the options you get to save and back up your BitLocker recovery key in Windows 11.


