Techniqued- Technoloy, Review and Tutorials
  • Android
  • Freewares
  • Tutorial
  • Windows 11
  • macOS
No Result
View All Result
Techniqued- Technoloy, Review and Tutorials
  • Android
  • Freewares
  • Tutorial
  • Windows 11
  • macOS
No Result
View All Result
Techniqued- Technoloy, Review and Tutorials
No Result
View All Result

How to Check if your PC has TPM 2.0 for Windows 11

Nirmal by Nirmal
June 26, 2021
in Tutorial, Windows 11
0
Share on FacebookShare on Twitter

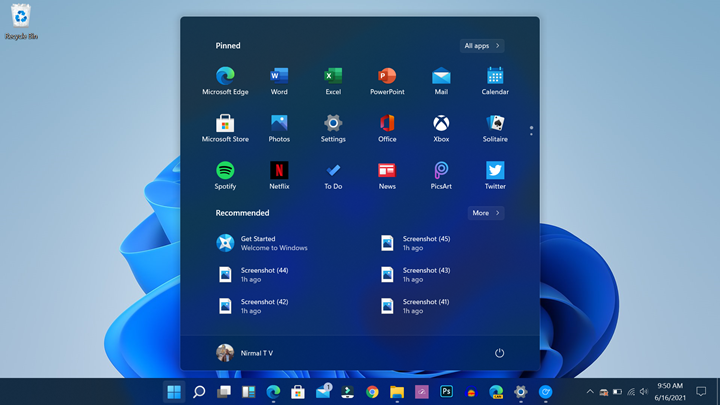
Windows 11 has been announced by Microsoft and it comes with new features and also changes to the UI. Windows 11 will be a free upgrade from Windows 10 for all eligible PCs. We had shared the system requirements for Windows 11. While most of the PCs can be upgraded to Windows 11, some of them are showing not compatible as there is no TPM 2.0 module on your PC. So what exactly is TPM 2.0 and how to check if your PC has TPM 2.0 for Windows 11 installation?

Related Reading: How to Upgrade to Windows 11 from Windows 10

How to Check if your PC has TPM 2.0 for Windows 11:

Before we check if your PC supports TPM 2.0, let’s see what exactly is TPM 2.0? Trusted Platform Module (TPM) technology is designed to provide hardware-based, security-related functions. A TPM chip is a secure crypto-processor that helps you with actions such as generating, storing, and limiting the use of cryptographic keys. While this is available in most of the newer PCs, older generation PCs might not have this feature. So if this module is not installed on your PC, then you will not be able to upgrade to Windows 11.

Step 1: In order to check if your PC has TPM 2.0, open the run command in Windows. You can use the Win Key + R.

Step 2: Now type tpm.msc command in the run command and press enter.

Check if your PC has TPM 2.0

Step 3:  This will open the TPM module details for your PC. Here you will be able to see whether your PC supports TPM 2.0 and if it is enabled and available for use.

Check if your PC has TPM 2.0

Step 4: If your PC has a TPM 2.0 module, but if it is disabled, you will need to enter bios on your PC. You need to shut down your PC and enter the bios while booting. Entering the BIOS is different on different PCs, so please check how to enter BIOS for your PC.

Step 5: In the BIOS settings, navigate to security settings and here you will see an option to enable TPM 2.0

Check if your PC has TPM 2.0

Step 6: Now you can enable the TPM 2.0 module for your PC.

Once you have enabled TPM 2.0, your PC can install Windows 11 once available.

Tags: How toTutorialsWindows 11
Previous Post

How to Align Windows 11 Taskbar and Start to Left corner

Next Post

Find out Why your PC Cant Install Windows 11

Related Posts

Tutorial

How to Enable Focus Mode in Windows 11

February 22, 2022
Windows 11

What is Reserved Storage in Windows 11

February 6, 2022
Tutorial

How to Reset Windows 11 without Losing Files

February 5, 2022
Tutorial

How to Disable Firewall in Windows 11

February 3, 2022
Tutorial

How to Repair Apps in Windows 11

February 2, 2022
Tips and Tricks

5 Ways to Open Task Manager in Windows 11

February 1, 2022

Leave a Reply Cancel reply

Your email address will not be published. Required fields are marked *

This site uses Akismet to reduce spam. Learn how your comment data is processed.


Latest Articles

Tutorial

How to Enable Focus Mode in Windows 11

February 22, 2022
Reviews

Movavi Video Converter- a Versatile Video Converter with support for 180+ Formats

February 16, 2022
Windows 11

What is Reserved Storage in Windows 11

February 6, 2022
Tutorial

How to Reset Windows 11 without Losing Files

February 5, 2022
Techniqued- Technoloy, Review and Tutorials

© 2021 Techniqued - Technology, Tips, Tricks and Reviews

Navigate Site

  • About Us
  • Advertise with us
  • Contact Us
  • Copyright Policy
  • Disclaimer

Follow Us

No Result
View All Result
  • Android
  • Freewares
  • Tutorial
  • Windows 11
  • macOS

© 2021 Techniqued - Technology, Tips, Tricks and Reviews