Airtel digital TV is an Indian direct broadcast satellite service provider owned and operated by Bharti Airtel. Its satellite service transmits digital satellite television and audio to households in India and as of 22 June 2012, Airtel has total 302 Channels and Services including 15 HD channels. Airtel Digital TV is quite popular in India. In case you are using a PC with a TV tuner card, you can configure this to work with PC. This set up can be done using Windows Media Center which is available in Windows 7. The advantage of using it with PC and Media center is that you do not have to buy recorder, you can record your favorite programs to hard disk using Media center.
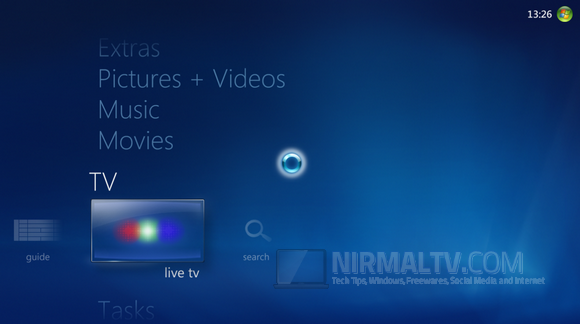
When I purchased the Airtel Digital TV and tried to configure it first time, it was not able to detect the set top box (STB) and I couldn’t find any tutorials on configuring it as the set up is pretty confusing with technical terms for a non-tech user. Here is the simple step by step process to configure it. In the first step, open Windows Media Center and then select TV-> Live TV. You can also start from Settings-> TV.
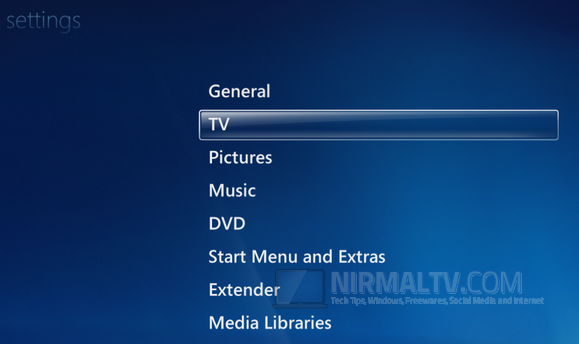
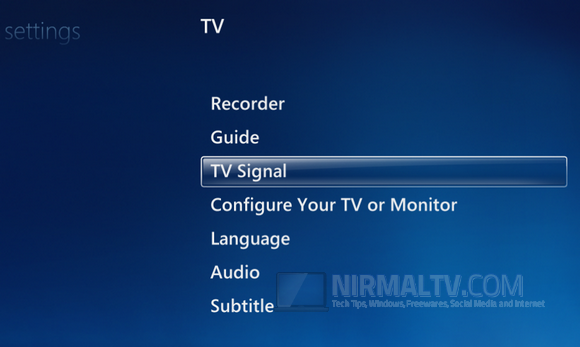
Under TV, select TV Signal and click Next.
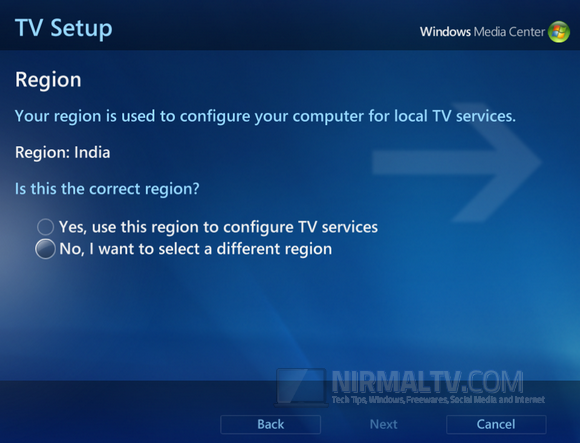
Media center will auto detect your region to India. Select Yes, and click next.
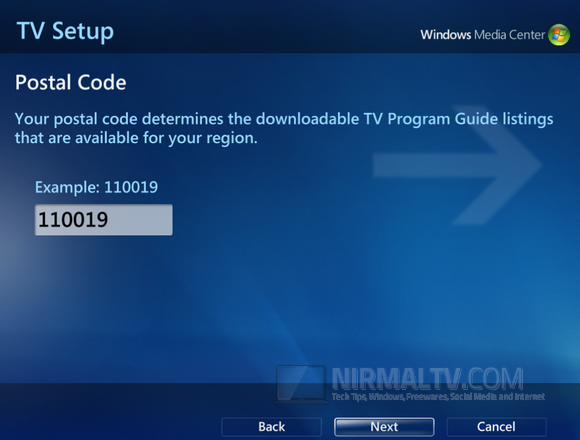
Enter the postal code in India, this does not matter much even if you give any value here.
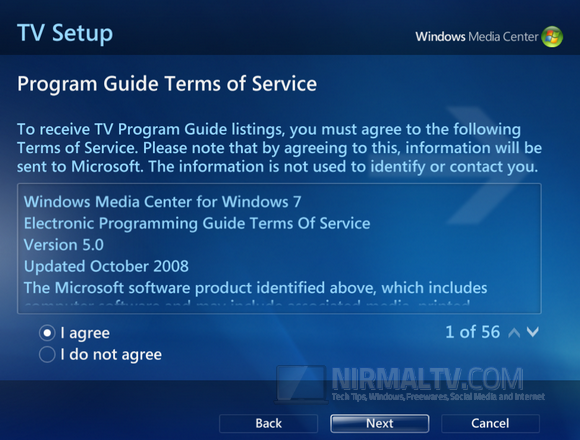
Accept the terms of service and click Next.
Media Center will now download the Set up data, wait for it to complete the download process.
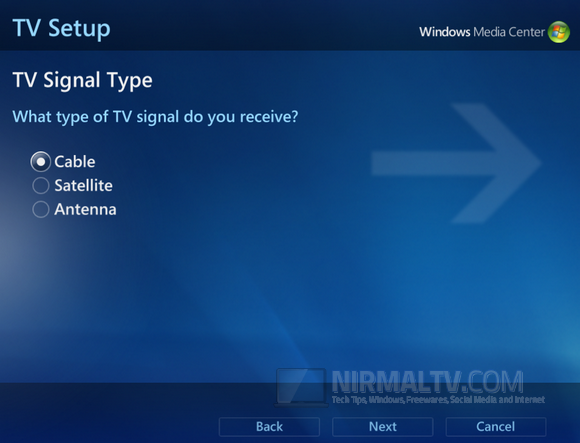
In the signal type, select Cable and click Next.
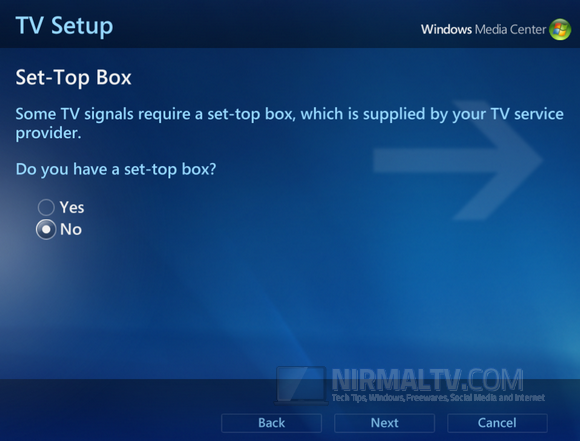
Now this step is very important, here you shouldn’t select Yes, even though Airtel uses a STB. Select No and click Next.
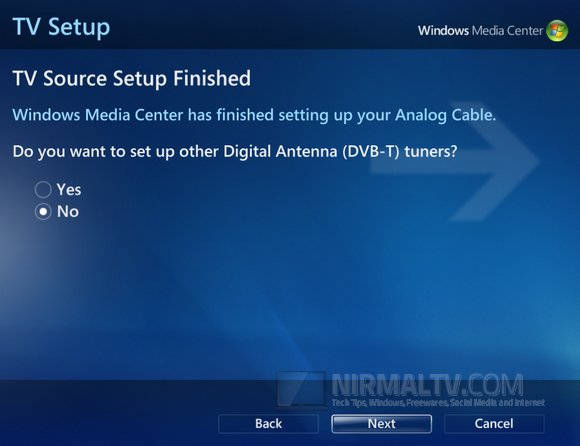
TV Souce set up will be completed, now select No and then click Next.
To confirm click on Next once again.

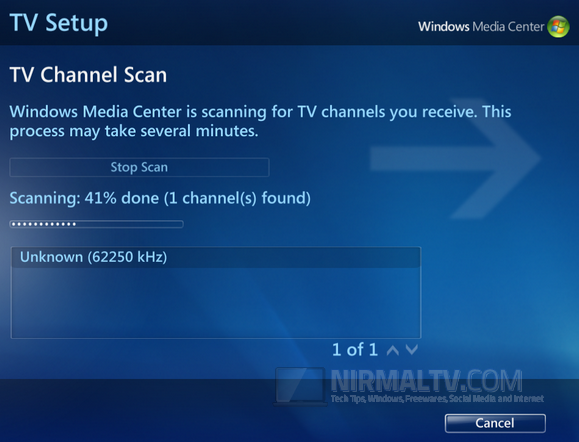
Once this is complete, the Set up will scan for channels available. This might take some time, typically some 10-15 minutes or less.
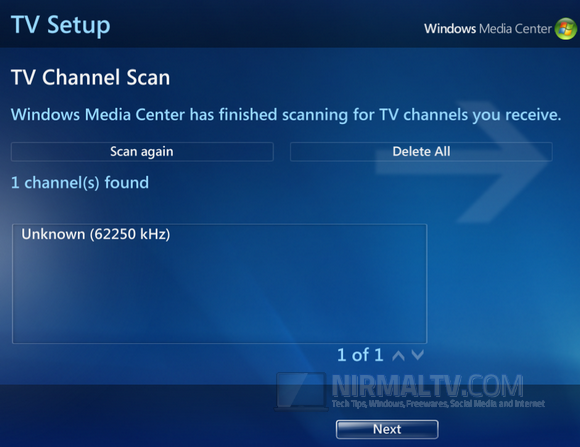
In the box below you can see the list of channels found. There would be only one available, but don’t worry, we aren’t done yet.
Click on Finish and the set up is complete.

Now go back to main screen and select TV-> Live TV. Now Media Center will try to connect with the STB and you can see all the channels connected. You can use the DTH remote for controls.
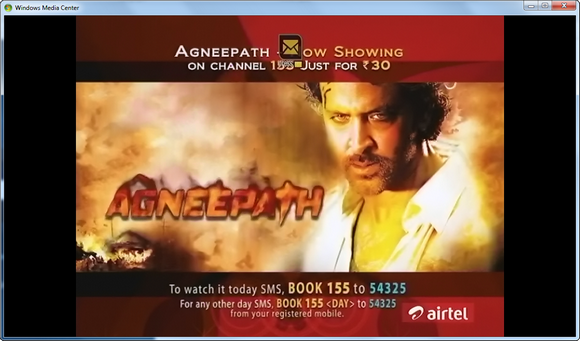
Similar process can be done for other DTH providers like Tata Sky, Dish TV, Sun Direct etc.


The STB has been configured but the video disappears after couple of second and the sound keeps coming. Any idea how this can be fixed?
Is it the same with all the channels including the Airtel’s channel 100 and 999? I faced the same issue, notified Airtel about it. I’ll update you with details tomorrow.
Thank you for the replies Nirmal. Any update from Airtel?
No reply from Airtel, but the conclusion I have made is that recently there was a software upgrade for Airtel channels, which changed the display of channel info and other stuffs. In this update probably what they might have is to disable viewing on computer and might be done is to prevent recording of paid channel
I spoke to airtel and they told me that they currently do not support tv tuner cards.
100 and 999 seems to be the only channels working. Weird. How did you resolve your issue?
Airtel guys couldnt help because the STB was working on TV, but not on PCs. Seems like their recent software upgrade has made it to stop working.
I tried using another tool called MediaPortal and it is acting the same way like Windows media center, so its the problem with Airtel after their software upgrade, it refuses to play on TV tuner cards
thanks for the blog. I just want to know, if you made any change to the input style configuration? I mean, composite pin or 3 pin style options? Also, what is the port you connected through, is it the conventional tv cord connected to the Monitor, or the Vedio jack from the set of box?
Sir could u please let us know which tv tuner are u usig r8 now .. i couldn’t fount any tuner that can support airtel box
HI Nirmal,
Tried above mentioned steps. The problem is , as soon as click on Live TV, it says “currently there is no signal for this channel”. All is see is blank screen with all the controls of volume, record etc.
Media Center isn’t able to detect the channels as you mentioned.
What should I Do?
Vivek,
This tutorial was written back in 2012, Airtel has upgraded its network and as of now I think you cannot configure Digital TV on Windows Media center.
Sir, if I buy an airtel digital tv plus, then do i need to buy a recorder separately to record programmes ? Or it is pre installed in the STB ? Does a recording charge ?
>When I purchased the Airtel Digital TV and tried to configure it first time, it was not able to detect the set top box
I was having this very same problem! Thank you for posting this and saving me the trouble of figuring it out on my own! 🙂
Hi Nirmal,
problem is that when I click on live tv wmc is is give a massege (tuner not found )so what i am do
This service doesnt work anymore.
any other option
please reply to me