With the release of the new Windows 10 Fall Creators update, Microsoft has pushed in a new feature for security from Ransomware. With multiple Ransomware attacks happening off late, this new feature called Controlled Folder Access is a great addition to Windows 10. With Controlled folder Access, Microsoft is offering anti-ransomware protection for Windows 10. This feature has been made available in Fall Creators update.
In this post, we will discuss how to enable Controlled Folder Access.
What is Controlled Folder Access?
Controlled folder access helps you protect valuable data from malicious apps and threats, such as ransomware and it is a part of the new Windows Defender bundled in Windows 10 Fall Creators update. Controlled folder access locks down folders, allowing only authorized apps to access files. Unauthorized apps, including malicious executable files, DLLs, and scripts are denied access to folders.
All apps and files are assessed by Windows Defender Antivirus as a part of protection and in case it determines if the app is malicious or suspicious, then it will not be allowed to make changes to any files in any protected folder. By default when you enable Controlled Folder Access, all your files in Documents folder is enabled by default and you can also add any folder or app to it. A notification will appear on the machine where the app attempted to make changes to a protected folder.
How to Enable Controlled Folder Access?
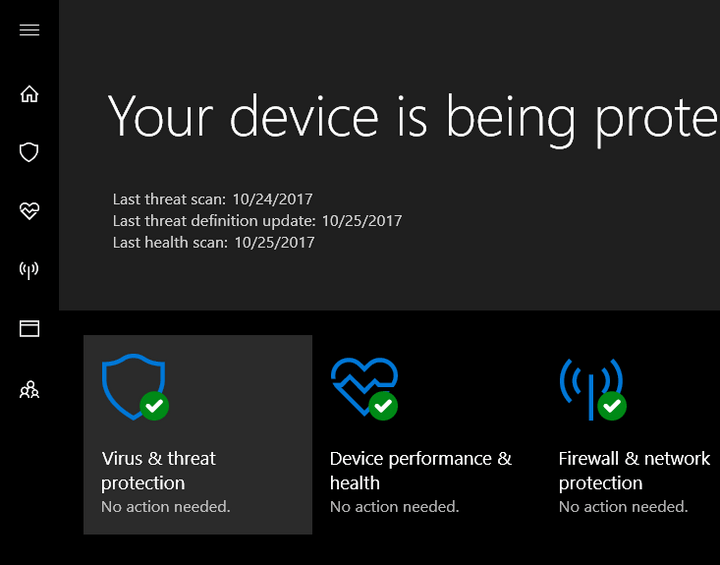
Step 1: To enable controlled Folder access, open Windows Defender, you can type Windows Defender in the start menu and press enter. In the Windows Defender, open Virus and threat protection option.
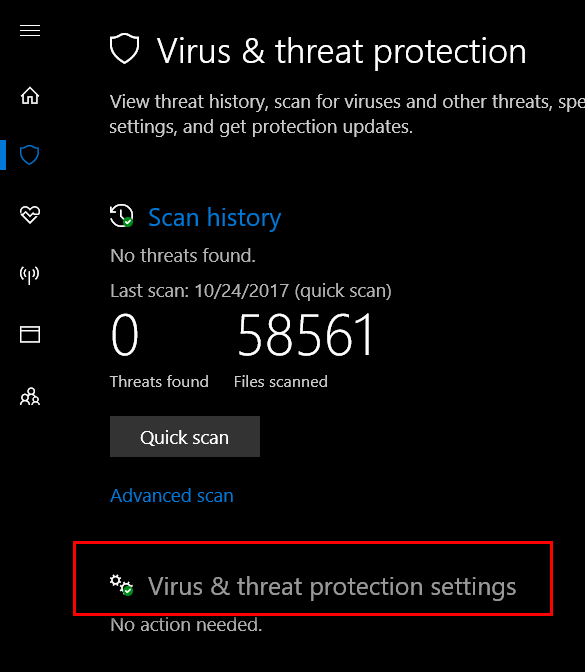
Step 2: Click on the Virus and threat protection settings link below.
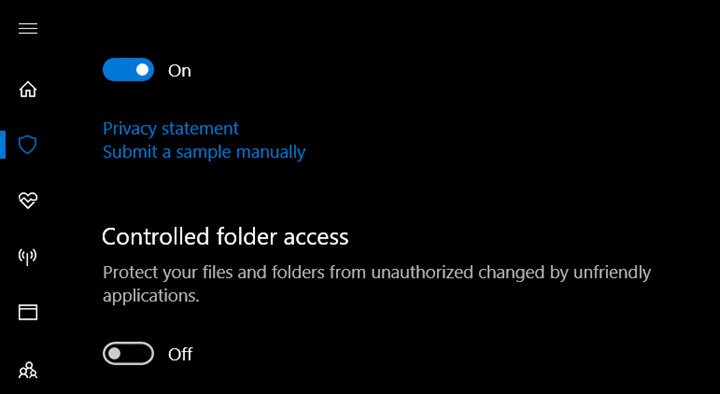
Step 3: Scroll down and you will see an option called Controlled Folder Access. Enable this option.
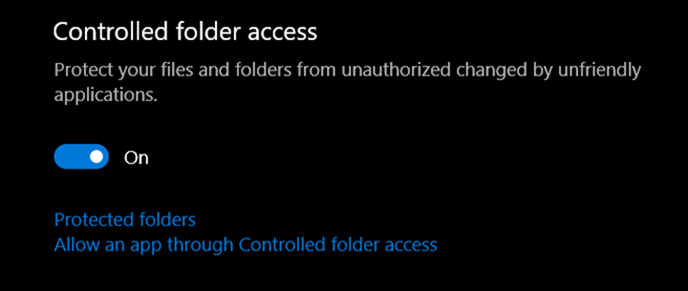
Step 4: Once you have enabled this, you can see two links below it- Protected Folders and Allow an app through Controlled folder access.
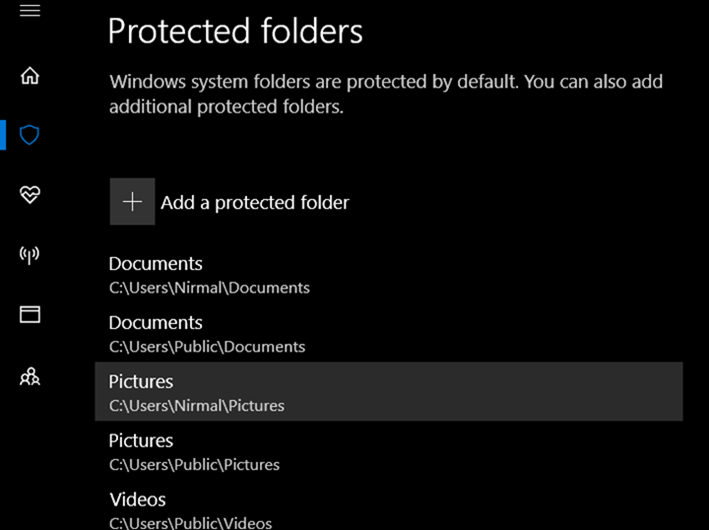
Step 5: If you click Protected Folders, you can see the list of all folders protected by default. You can also add folders to the list in case you want another folder to be protected. Once you protect these folders, no app can have access to these folders which means no app can save any files on to this folders.
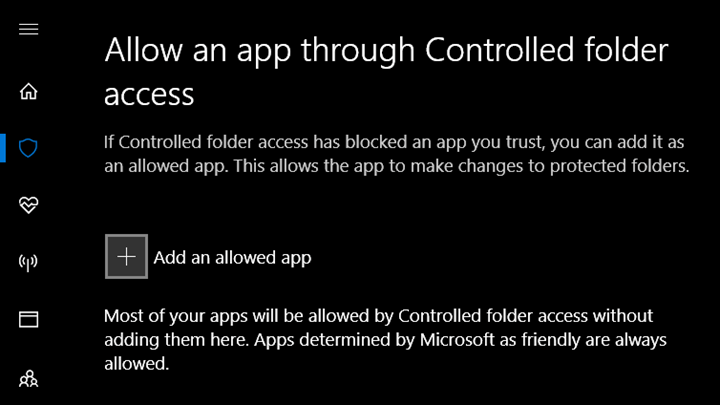
Step 6: In the final step, if you want any particular app to have access to these folders, you can add them in the list of apps which have access to these folders.


Neither Dropbox nor Evernote are on the allowed list. MS should have done better
A very good and important tutorial for every Windows 10 user. Thanks!
Very helpful for windows 10 users.thank you
Why did I never heard of this? It looks so useful. Thank you so much for the information.
Good sharing, Thanks.