When you are using a Windows PC, it will have a default name assigned. This name is important when you are sharing files from one device to another. It will also be needed when you have enabled network sharing. But what if you want to change the name assigned to your PC? Windows offers an option to change the name of the PC. You can easily rename your Windows PC from the settings. Here is how to do it.
Related Reading: How to Use Energy Saver on Windows 11
How to Rename your Windows PC:
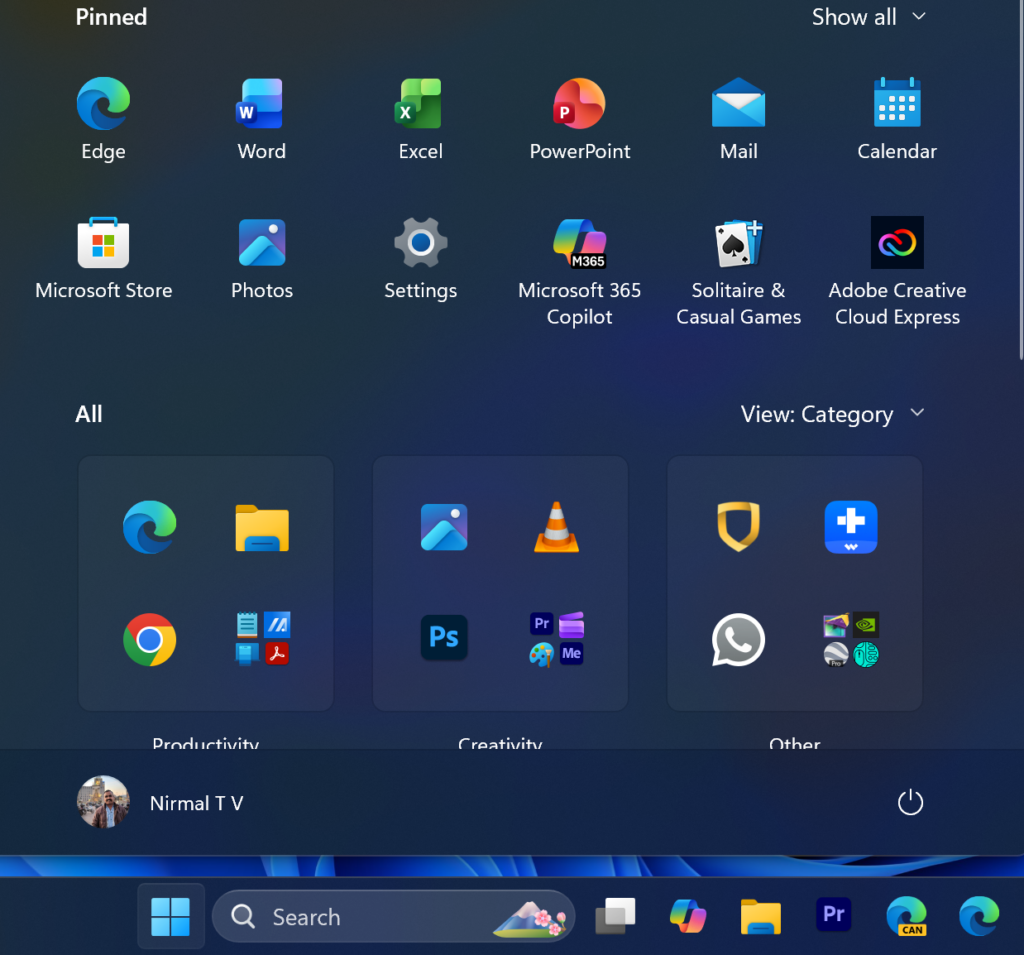
Step 1: The first step is to open the Settings panel in Windows 11.
Step 2: To do this, click on the Start menu and type settings. You will be able to see Settings in the list, and click on it to open it.
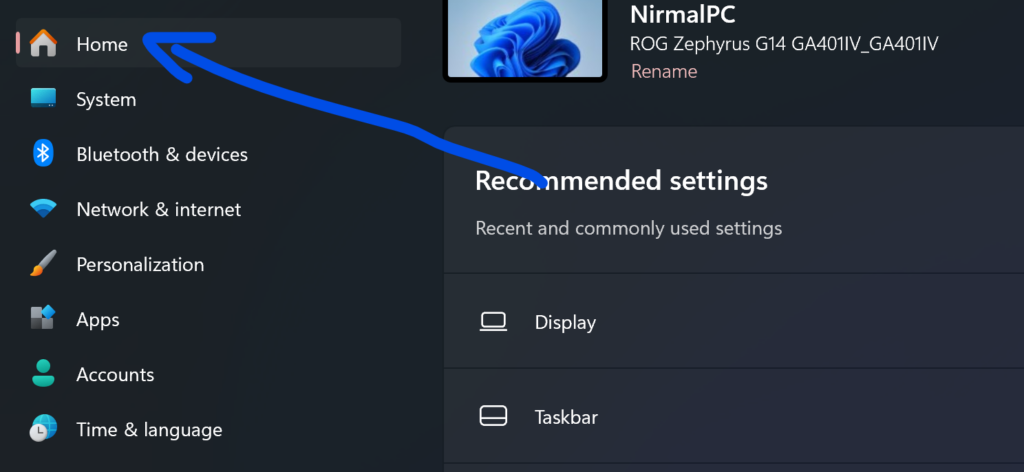
Step 3: Under the Settings panel, select Home at the top left-hand side of the menu.
Step 4: When you have selected Home, you will be able to see the name of your PC on the right-hand side panel.
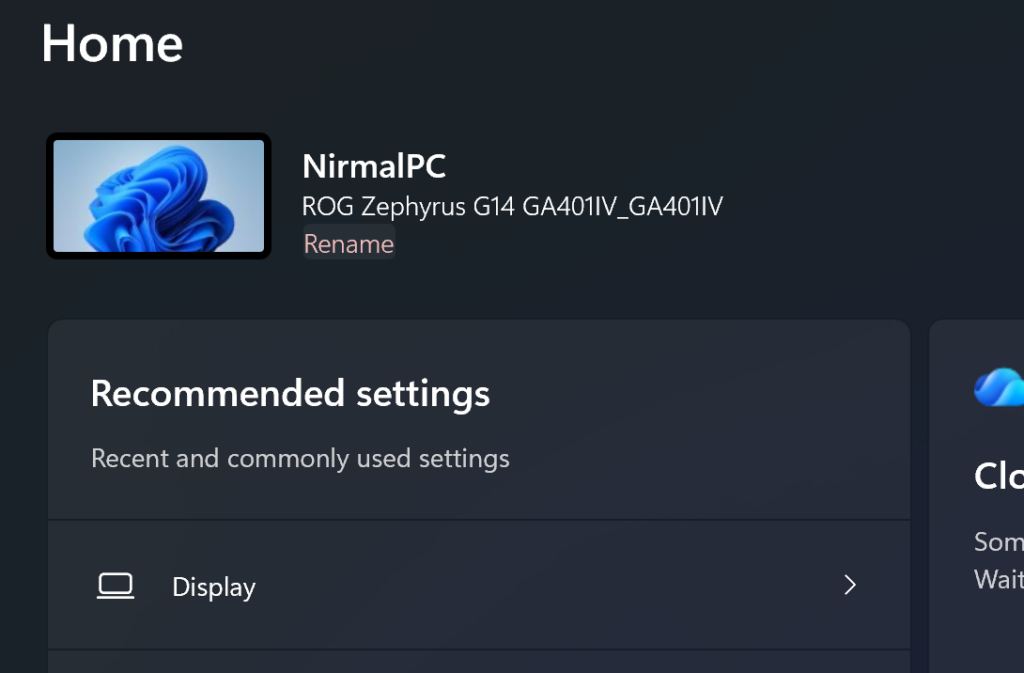
Step 5: Here, you will be able to see a Rename link; click on it to open the rename box.
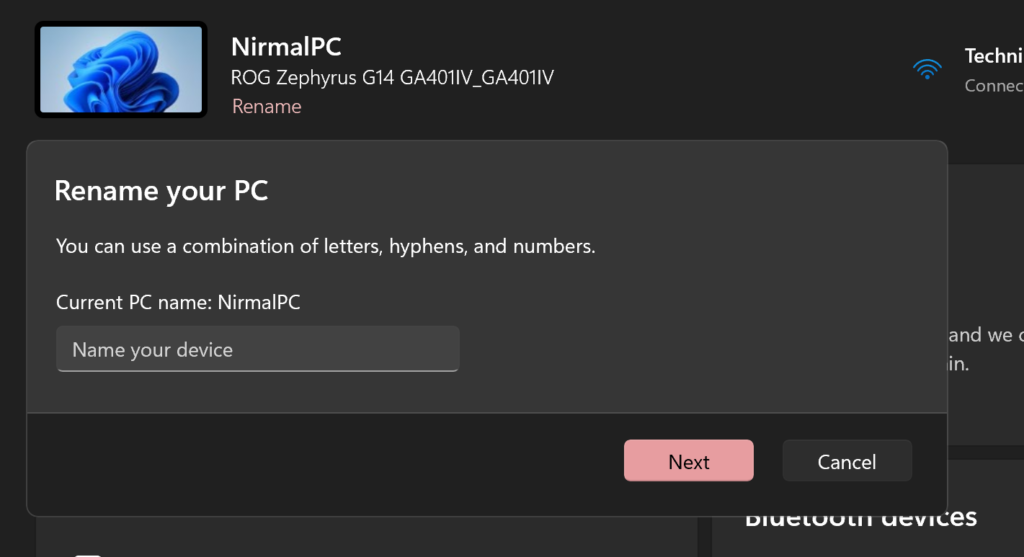
Step 6: This will open a small pop-up window, where you can change the current name. You can use a combination of letters, hypens and numbers for your Windows PC’s name.
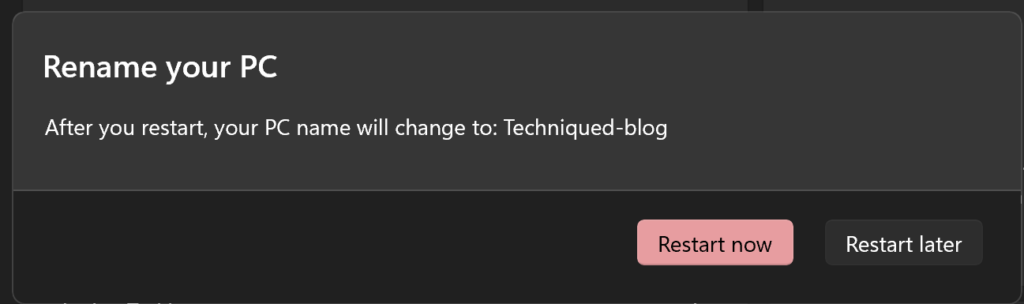
Step 7: Once the name is saved, you will be prompted to restart Windows to have the new name show up.


